TL;DR
Shaders live in Framer under Insert, then Shaders.
Set a shader to absolute position so it can fill a whole section.
Drop the opacity so the effect sits behind your content.
The logo shader turns an SVG into a gradient or frosted glass mark.
Every shader has its own sliders, so play with them to learn what they do.
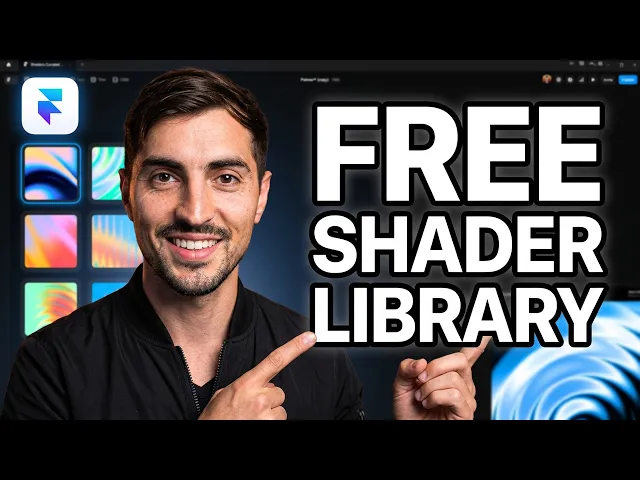
You add shaders to a Framer website from the Insert menu. Pick a shader, set it to absolute position, and it can sit behind any section of your site. Then you change the colours and sliders until it fits your brand.
The problem most web designers have is that sites start to look the same. Same layout, same flat background, same fade in. Shaders give you a quick way to add texture and movement without writing code.
Here is how I use them on my own portfolio, and the settings worth knowing.
What Framer shaders actually are
Shaders are visual effects you can drop straight onto the canvas. Some are animated and some are still. They can be backgrounds, gradients, glass effects or patterns.
They are very customisable. If you have brand colours, you can drop them in. That makes them useful for client work, not just experiments.
Here are some of the styles you get in the list:
Liquid gradient, a soft moving blend of colour.
Bands, lines and wave, for clean graphic backgrounds.
Rings, which works well behind a hero section.
Blockify, a square block style that looks a bit like Lego.
Fluted glass, which distorts an image you upload.
Logo, which turns your SVG logo into a gradient or glass mark.
Pixel effects, waves, particles and more.
How to add a shader behind your hero
The most common use is a background behind the hero. It takes about a minute.
Open your project in Framer and click Insert at the top left.
Scroll down to Shaders and pick one, for example Rings.
Place it inside the section you want to fill.
Change its position from relative to absolute.
Stretch it to fill the section, then send it behind your content.
Press preview to see how it looks live.
The position step is the one people miss. Relative keeps the shader inside the flow of the section, like any other layer. Absolute lets you move it anywhere and fill the whole background.
I like to add a few shaders at once so I can test them side by side. It is much faster to compare them in place than to guess.
Make the effect subtle
A lot of shaders are bright out of the box. When I added a line design to the background of my portfolio, it looked great but was too strong.
The fix is simple. Click the shader and drop the opacity. The effect stays, but it sits back and lets your headline do the work.
A few habits that help:
Lower the opacity before you change anything else.
Swap in your brand colours so it feels like part of the site.
Use shaders in more than one place, not just the hero.
I also put a second shader inside my footer component. Because it lives in the component, it shows up on every page that uses that footer.
Turn your logo into a glass effect
The logo shader is one of the most fun to play with. You upload an SVG of your logo and Framer turns it into a gradient.
Go to Insert, then Shaders, then Logo.
Upload your logo as an SVG.
Change the colours to your brand colours.
Switch to the glass version for a frosted look.
Turn the background opacity off so only the mark shows.
Place it where your flat logo used to be and hide the old image.
I did this with my own logo in a lime green. The frosted glass version looked far more interesting than the plain PNG it replaced.
Play with fluted glass and blockify
Fluted glass works with an image you upload. It adds a ribbed glass look over the top, like looking through a textured window.
These are the main controls:
Setting | What it changes |
|---|---|
Shape | Curved or cosine, which changes the detail of the ridges |
Pattern | Bars, zigzag or a circular pattern |
Amount | How many ridges you see |
Distort | How much the image bends |
Blur and frost | How soft and frosted the glass looks |
You can create something like this in a few seconds just by moving the sliders. If you want less blur, pull it back.
Blockify is the square, Lego style effect. You can make the blocks very small or very large and change the angle. It works best with geometric shapes and bold colours.
You can also add a logo to a pixel effect and give it a square or hex pattern. It is a quick way to make a mark feel more playful.
Learn the sliders by playing
Each shader has different sliders. One might have warp and fringe. Another might have angle or particle size. They can look technical at first.
The best way to learn them is to move each slider and watch what happens. After a few minutes you start to see what each one does.
Some of the effects I made just by exploring:
A sun effect from one of the wave shaders.
A space portal made with particles.
Falling snow, which makes a nice subtle background.
Space particles for a quiet, moving texture.
I keep all of these on one page in my project. That way I can copy and paste the one I want into any site.
Copy shaders other designers share
You do not have to build every effect yourself. Designers are already sharing their own shader libraries.
If you find one you like, click it, copy it and paste it into your project. Then change the colours to match your site. I found a rave laser style effect this way and had it in my own file in seconds.
This also works the other way. If you make something good, you can share it with other people in the same way.
The bottom line
Shaders are a free tool in Framer that make a site look more creative and less template. Add one from Insert, set it to absolute, drop the opacity and match your brand colours. Then play with the sliders until it feels like yours.
Questions, answered
What are shaders in Framer?
Shaders are a built in Framer tool for creating visual effects. They give you animated or still backgrounds, gradients, glass effects and textures. You add them from the Insert menu, then tweak them with sliders.
How do I make a Framer shader fill the whole background?
Select the shader and change its position from relative to absolute. Relative keeps it inside the flow of the section. Absolute lets you move and stretch it behind everything else, so it can fill the hero or any section.
Can I use my brand colours in Framer shaders?
Yes. Shaders are very customisable, so you can swap in your own brand colours. You can also lower the opacity so the effect is subtle and does not fight your content.
Can I turn my logo into a shader effect in Framer?
Yes. Use the logo shader and upload your logo as an SVG. It turns the mark into a gradient, and you can switch to a frosted glass version. Use it in place of a flat PNG logo.
Are Framer shaders free?
Shaders are a free tool inside Framer. You can also copy and paste shader effects that other designers share in their own libraries, then change the colours to suit your site.

Written by Jeremy Mura
Brand designer, founder of Mura Studio and Designer School